How to Refinish Kitchen Cabinets for a Lasting Finish
Learning how to refinish kitchen cabinets involves inspecting the existing surfaces, cleaning and sanding them, applying compatible coatings, and allowing enough curing time. The right preparation matters as much as the finish because it helps the new coating bond evenly and withstand everyday kitchen use.
Key takeaways
- Cabinet refinishing works best when existing doors, drawer fronts, and cabinet boxes are structurally sound.
- Kitchen cabinet refinishing steps typically include inspection, cleaning, repairs, sanding, priming, coating, and curing.
- Cabinet surface preparation removes grease and creates a clean, stable surface for primer and finish.
- Paint, stain, laminate, and conversion varnish are cabinet finish types with different appearance, durability, and application requirements.
- Refinishing cabinet doors separately can improve access and produce a more even finish.
- Professional refinishing may be the right choice when the kitchen has heavy wear, difficult materials, or a demanding finish schedule.
What Should You Inspect Before Refinishing Kitchen Cabinets?
Inspect the cabinet boxes, doors, drawer fronts, hardware, and layout before deciding whether refinishing is the right choice. Cosmetic wear usually responds well to cabinet surface preparation and new coatings, but structural damage can limit your options.
How Do You Tell If Cabinets Can Be Refinished?
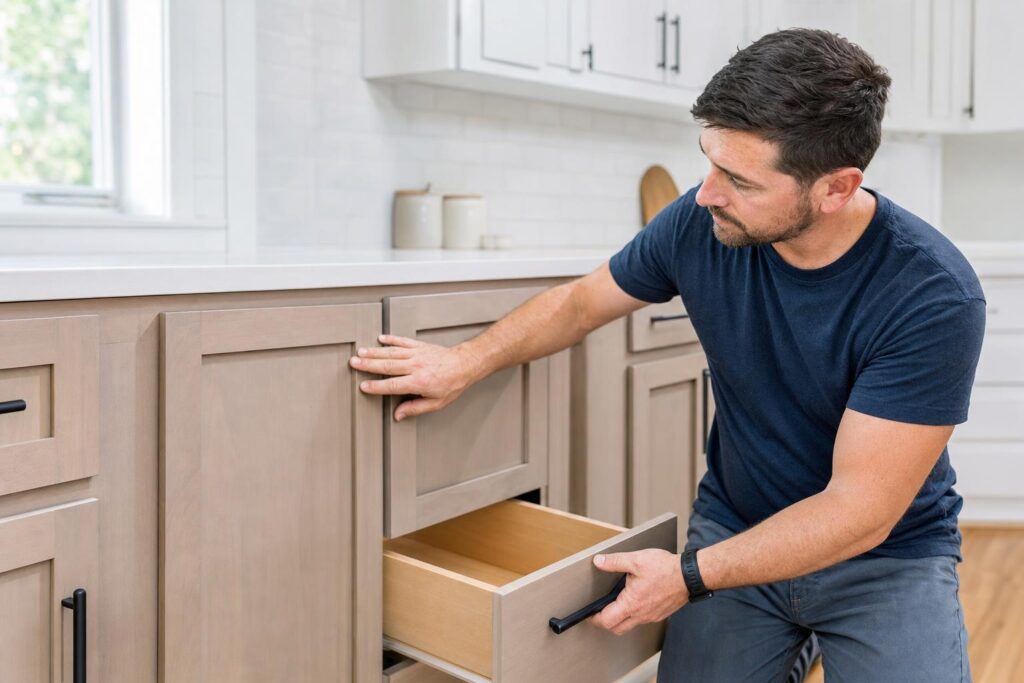
Look for solid cabinet boxes and firmly attached face frames, which are the fixed frames around the doors and drawers. Minor scratches, dull surfaces, and an outdated color are usually refinishing-friendly conditions. Check each door and drawer front for loose joints, delamination, or peeling material. Swollen particleboard, severe water damage, or cabinet parts that no longer hold screws may require replacement instead of refinishing.
- Solid cabinet boxes should remain square, stable, and firmly attached to the wall or adjacent cabinets.
- Doors and drawer fronts should open smoothly without cracked joints, severe warping, or separated layers.
- Water stains require inspection to determine whether the damage is only cosmetic or has weakened the material.
- Hinges, slides, and handles should be secure or suitable for replacement during the project.
- Existing surfaces must accept cleaning, sanding, primer, and a compatible cabinet finish type.
Your existing layout also affects the available refinishing options. Wood, laminate, and painted surfaces each need different preparation, and refinishing will not change the cabinet arrangement or add storage. If the boxes are sound but the doors and finish are outdated, refacing may provide a more consistent update; Refacing Kitchen Cabinets: What Homeowners Should Know explains how that process differs. Replacement may be better for extensive damage, while custom cabinet additions can address missing storage. Expect some grain to remain visible, especially on wood, and understand that color changes and finish consistency depend on the existing material and condition.
What Are the Kitchen Cabinet Refinishing Steps?
The kitchen cabinet refinishing steps are removal, labeling, cleaning, repairs, sanding, dust control, and final inspection before any coating is applied. This sequence gives the new finish a clean, stable surface for better adhesion.
- Remove doors, drawer fronts, and hardware, then label every piece and its location.
- Degrease cabinet boxes, doors, and drawer fronts with a cleaner suitable for the existing coating.
- Fill dents, tighten or repair loose joints, and replace damaged parts before sanding.
- Scuff-sand glossy or worn coatings to create a lightly rough surface for the new finish.
- Vacuum dust, wipe surfaces clean, and keep the work area controlled before applying primer or paint.
Remove hinges, pulls, and knobs carefully, placing related hardware in labeled bags. Clean grease from edges, corners, and cabinet openings, then allow every surface to dry completely. Moisture or cleaner residue can interfere with adhesion.
Cabinet surface preparation means the cleaning, repairing, and abrading that helps a new coating adhere. Use fine dust control, cover nearby surfaces, and separate sanding from coating work. Airborne dust can settle in wet paint and leave a rough final appearance.
How Should You Prepare Doors and Drawer Fronts?
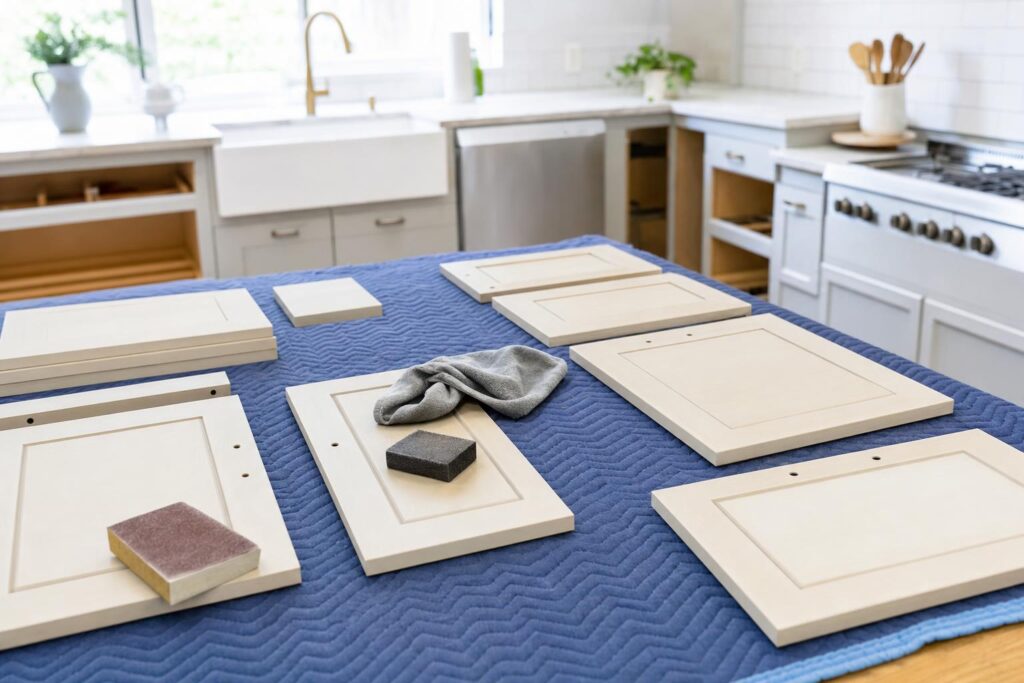
Remove hardware and clean the edges, profiles, and recessed panels carefully before sanding. Complete refinishing cabinet doors on a level, protected surface so the coating does not pool or run. Between compatible coats, light sanding may be required; follow the product directions and remove all sanding dust afterward.
Keep doors and drawer fronts labeled throughout the project, especially when their sizes or profiles look similar. For hardware style guidance, see Kitchen Cabinet Hardware: How to Choose the Right Style. Careful preparation takes time, but it supports a more even and durable result.
Which Cabinet Finish Types Work Best for a Kitchen?
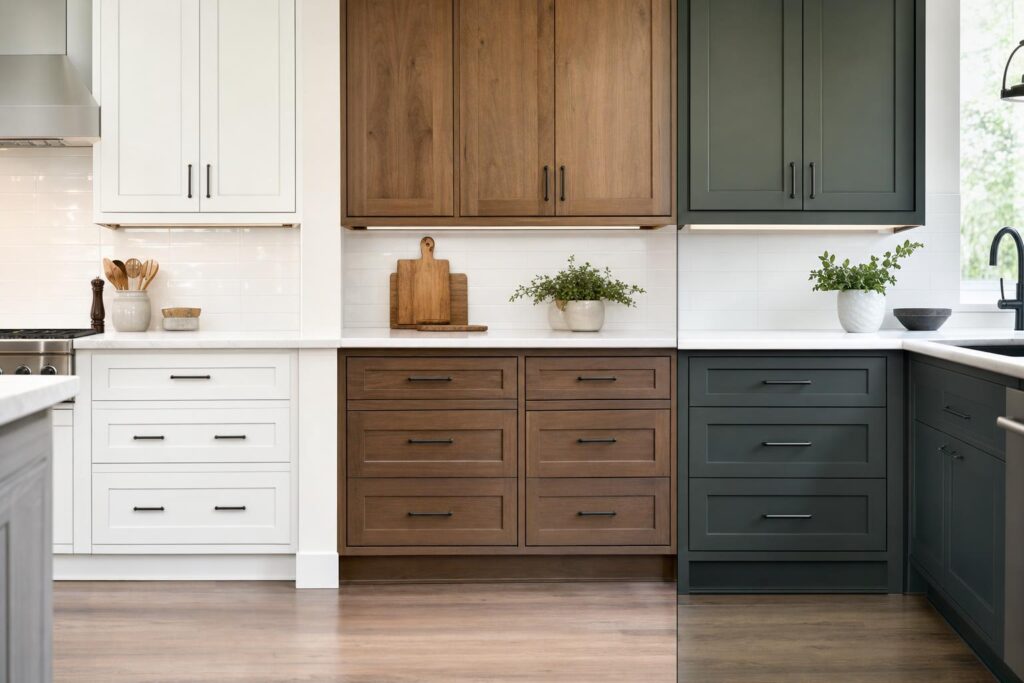
The best cabinet finish types depend on your cabinet material, desired appearance, and expected use, but compatible paint, stain, laminate coatings, or conversion varnish can all work when properly prepared. Primer, topcoat, sheen, ventilation, and product compatibility affect the lasting result.
Paint is a pigmented coating that hides most of the underlying material and wood grain. Stain is a colorant that changes or enhances wood while leaving some grain visible. Satin and semi-gloss sheens are common kitchen options because they balance cleanability with glare.
Should You Paint or Stain Existing Cabinets?
Paint gives you an opaque color change, while stain keeps more of the wood grain visible. Your wood species and prior finish influence the result; oak grain may remain noticeable under paint, while pine or maple can absorb stain unevenly without conditioning.
Paint generally requires more cabinet surface preparation when you are changing from a dark or glossy finish. Laminate and thermofoil doors have limited refinishing options because coatings may not adhere well to their slick surfaces. Thermofoil can also soften or separate near ovens and other heat sources.
- A bonding primer helps paint adhere to cleaned laminate, thermofoil, or glossy surfaces when the product label approves that use.
- Use a compatible kitchen topcoat over primer instead of mixing products that require different curing conditions.
- Follow the label’s ventilation requirements and keep doors and drawers out of service while coatings cure.
- Choose a satin or semi-gloss sheen when you need a surface that is easier to wipe clean.
- Test stain or paint on a spare door or hidden area before coating the entire kitchen.
| Finish type | Appearance | Durability and best use |
|---|---|---|
| Paint | Opaque color with little visible grain | Durable with compatible primer and topcoat |
| Stain | Transparent or semi-transparent color with visible grain | Best for sound wood doors and a natural appearance |
| Laminate-compatible coating | Solid color over prepared laminate or thermofoil | Useful for suitable smooth doors, but adhesion and heat exposure remain concerns |
| Professional conversion varnish | Smooth, hard film with consistent color or clear finish | Highly durable |
Product choice also affects project cost and scope. If refacing may suit your existing cabinet boxes better than refinishing, Cabinet Refacing Cost: What Affects Your Price? explains the factors that shape that option. The right finish is the one that matches your cabinet material, maintenance needs, and expected use.
How Long Does Cabinet Refinishing Take to Cure?
Cabinet refinishing typically takes several days to cure fully, although the exact time depends on the coating, room conditions, number of coats, and how much use your kitchen receives. Dry time describes when a surface no longer feels wet; cure time is the longer period when the coating hardens and reaches its intended resistance to moisture, stains, and wear.
After cabinet surface preparation, apply primer in a thin, even coat and follow the product’s recoat time. Light sanding may be required between coats to remove raised grain or small imperfections, followed by careful dust removal. Apply multiple thin finish coats instead of one heavy coat, allowing each layer to dry before the next application.
A small DIY project may take several days of hands-on work, with additional time for drying between doors, drawer fronts, and cabinet boxes. A professional workflow may move more efficiently because doors can be removed, coated in a controlled area, and installed after the finish has set, but no universal timeline applies. Ask about the expected schedule when comparing refinishing with Cabinet Refacing New Jersey: Service Areas and Process.
Dry-to-touch does not mean your cabinets are ready for heavy use. Keep doors and drawers open or off the cabinets as directed, avoid washing the surfaces, and handle them gently until the manufacturer’s full cure period has passed. Good ventilation helps release moisture and coating vapors, while stable temperatures and moderate humidity support even drying.
Dust, cold rooms, high humidity, and poor airflow can slow curing or leave particles in the finish. Follow the coating manufacturer’s instructions rather than relying only on a general schedule, especially before cooking heavily, wiping cabinets, or reinstalling hardware. With enough cure time, the finish has a better chance of delivering the durability your kitchen needs.

When Should You Choose Professional Cabinet Refinishing?
Choose professional cabinet refinishing when you need a consistent finish, have limited time, or your cabinets require specialized preparation, repairs, or material testing. DIY refinishing cabinet doors may suit a small project, but a professional can better manage dust, tools, coating compatibility, and the time needed for proper curing.
Refinishing works best when the existing doors and cabinet boxes are structurally sound and you want to change their color or sheen. Laminate, thermofoil, ornate profiles, peeling surfaces, extensive damage, and a whole-kitchen project can make professional guidance the right choice. These conditions often require specific primers, coatings, sanding methods, or repairs.
Refacing is a different process. It keeps your existing kitchen layout but replaces the exposed doors and drawer fronts while covering the cabinet boxes with matching veneer or another finished material. Refacing may be a better option when the cabinet surfaces are worn or you want a more complete style change without replacing the entire cabinetry.
Your project may also include new drawer fronts, hardware, countertops, or custom cabinet additions. The right choice depends on cabinet condition, budget, schedule, and your goals for the kitchen. A professional evaluation can help you compare refinishing, refacing, replacement, and related upgrades before work begins.
What Can a Professional Kitchen Cabinet Company Handle?
ReNU Kitchen evaluates your existing cabinets, layout, and project goals before recommending refinishing, refacing, or related options. The team can coordinate doors, drawer fronts, hardware, countertops, and custom additions so the finished kitchen has a consistent appearance. Homeowners in New Jersey can request a free estimate and practical guidance from an experienced cabinet company.
- A professional can test the existing surface and select compatible primers, paints, stains, or laminates.
- The team can repair damaged cabinet boxes, doors, and drawer fronts before applying a new finish.
- Dust control and organized preparation can reduce disruption during the project.
- Matching doors, hardware, countertops, and custom additions can create a coordinated kitchen design.
- An experienced company can explain which option fits your condition, budget, and schedule.
Frequently asked questions
Can you refinish kitchen cabinets without removing them?
Some cabinet boxes can be refinished in place, but doors and drawer fronts are usually removed for better access and a more even finish. Removing hardware and working on a protected, level surface helps reduce drips, missed edges, and dust contamination. The exact approach depends on cabinet construction and project scope.
How many coats are needed when refinishing cabinets?
Most cabinet refinishing projects require primer plus two or more thin finish coats, although the product instructions and existing surface determine the exact number. Dark colors, major color changes, porous materials, and high-use kitchens may need additional coverage. Each coat must dry before the next is applied.
Is cabinet refinishing durable enough for a busy kitchen?
Cabinet refinishing can be durable in a busy kitchen when surfaces are thoroughly cleaned, properly sanded, primed with compatible products, and coated evenly. Curing time also matters because a finish may feel dry before it reaches full hardness. Gentle cleaning and prompt attention to moisture help preserve the result.
What is the difference between refinishing and refacing cabinets?
Refinishing changes the coating or color on existing cabinet surfaces. Refacing keeps the cabinet layout but replaces exposed doors and drawer fronts and covers visible cabinet boxes with matching material. Refinishing may suit sound cabinets needing a new appearance, while refacing offers broader style and material changes.
When should I hire a professional to refinish cabinets?
Professional help may be appropriate when cabinets have laminate or thermofoil surfaces, extensive grease buildup, water damage, intricate profiles, or a large number of doors. A professional can assess compatibility, manage preparation and ventilation, apply consistent coatings, and explain whether refinishing, refacing, or replacement best fits your goals.
Choose the Cabinet Update That Fits Your Kitchen
Ready to transform your kitchen? Contact us for your free estimate.